Setup Guide
This tutorial will guide you through setting up the DreamNet VPN on your desired system and how to join the AD domain.
Introduction
Section titled “Introduction”There are a few things you should know before following this guide.
- The computer you are using to connect to DreamNet should either be a VM or a secondary machine. Do not connect your main computer to DreamNet.
- It is possible to migrate your existing user profile to your new domain account. There will instructions on how to do this later in this guide.
Connecting to the VPN
Section titled “Connecting to the VPN”-
Download SoftEther VPN Client
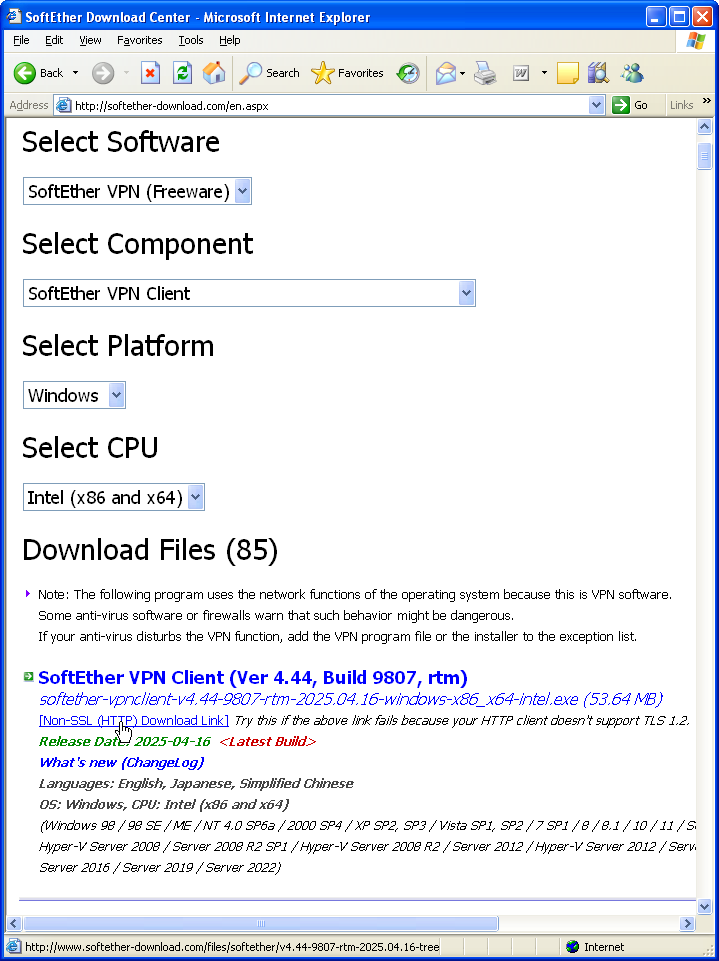
I get an error message when trying to run the file!
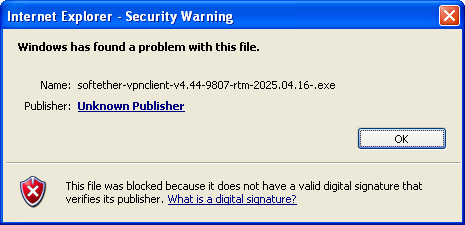 If you get a message like this. You need to save the file first, then run it directly.
 -
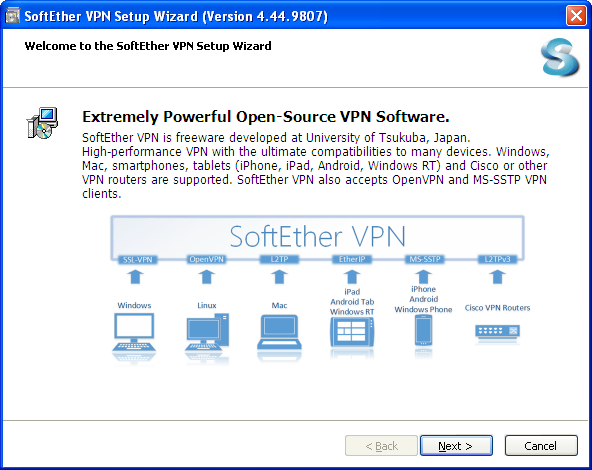
Run the downloaded file
-
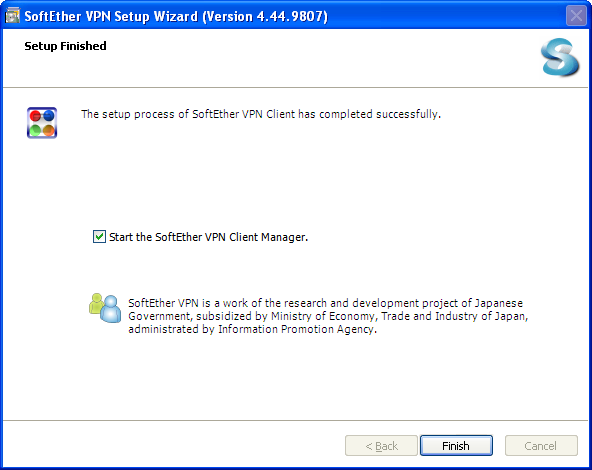
Click through the setup until it is finished installing, the defaults are fine.
-
Open the SoftEther VPN Client Manager.
-
At the top of the window, pick Virtual Adapter Adapter -> New Virtual Adapter. Continue with the default options.
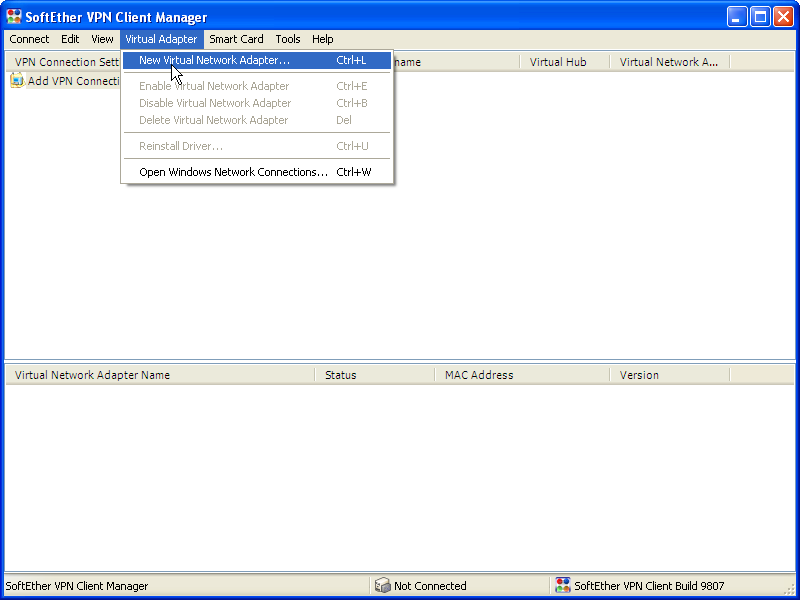
-
Now that you have created the Virtual Network Adapter, double click on
Add VPN Connectionand copy the configuration as shown below. Once everything matches the below example, click OK.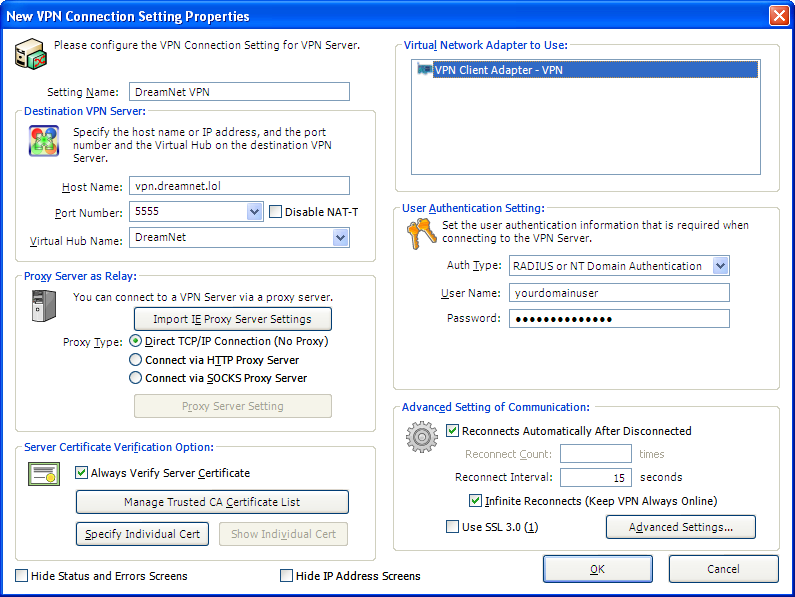
-
Set the VPN as a startup connection
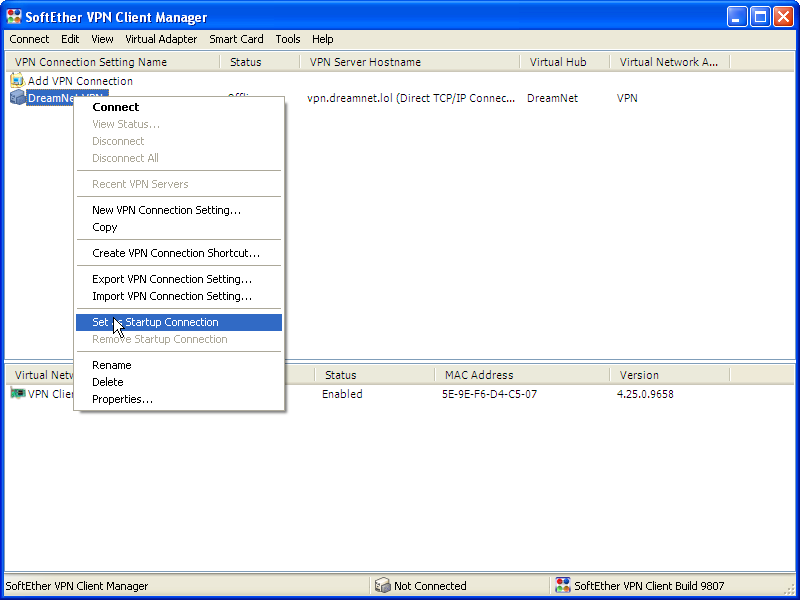
-
Finally, you can double click the VPN connection to connect. If you get a warning about the certificate, click
Resume the Connectionthen chooseYes. The digest should match the below screenshot.SSL Certificate Digest
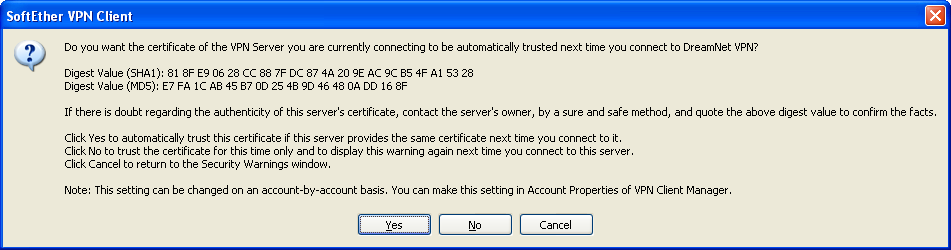
You should see a message like this if you have been successfully connected. image
Joining the Domain
Section titled “Joining the Domain”Now that you have connected to the VPN and set it as a startup connection. You can join your system to the domain.
- Open
sysdm.cplfrom the Run box.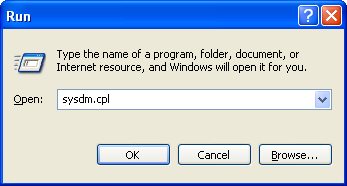
- Click the Change button in the Computer Name tab.
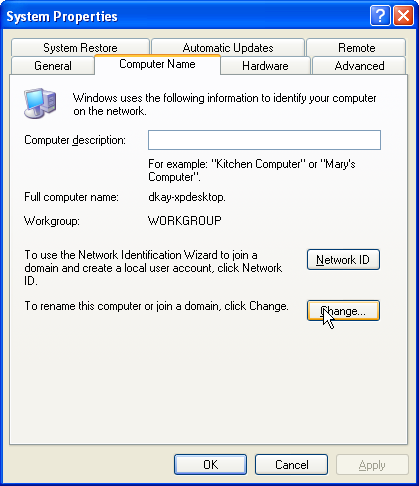
- In the newly opened dialog box, click Domain: in the Member of section and put in
dreamnet.corp, and press OK.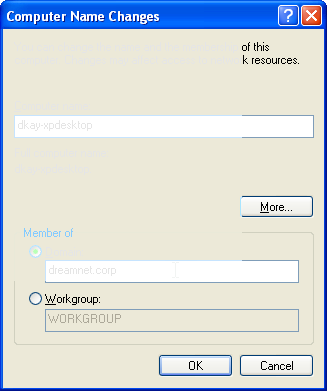
- You should now see a popup asking for credentials. Enter your domain credentials and click OK.
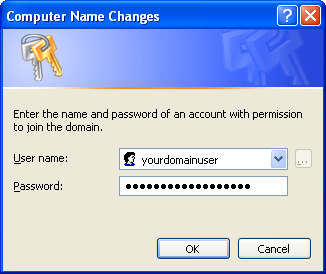
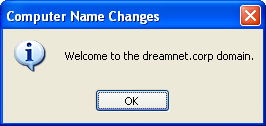
- If everything has gone correctly, you should see a popup that says “Welcome to the dreamnet.corp domain.”
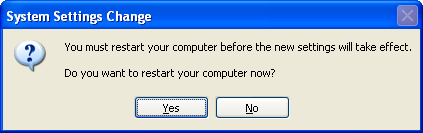
- You will now be prompted to restart the computer, click OK, OK, then Yes to restart the computer.
- After the computer restarts, log back into your local admin account, open cmd and run
net localgroup Administrators /add DREAMNET\yourdomainuserto add your domain user to the Local Administrators group. This is required to install software and such.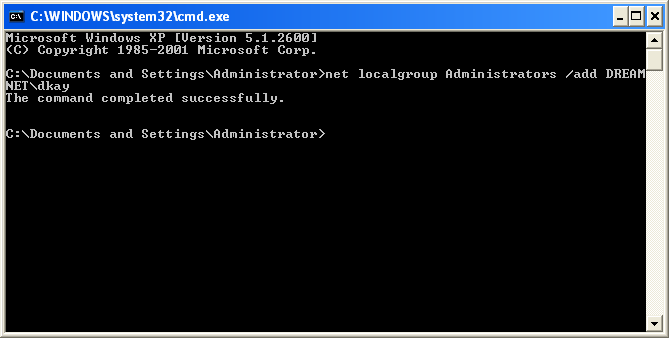
-
Optional: Migrate existing local user profile
- Download and run ProfWiz
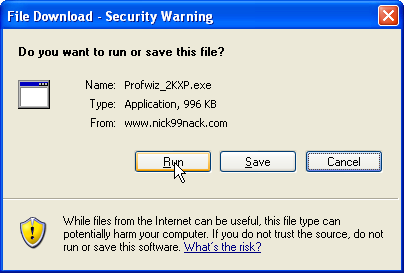
- On the Select a User Profile step, select the local profile you wish to migrate, check Disable Account, then click next.
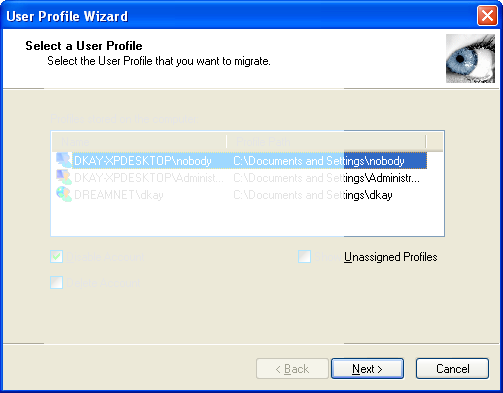
- You will now be asked for your User Account Information. Enter your domain username and click Next.
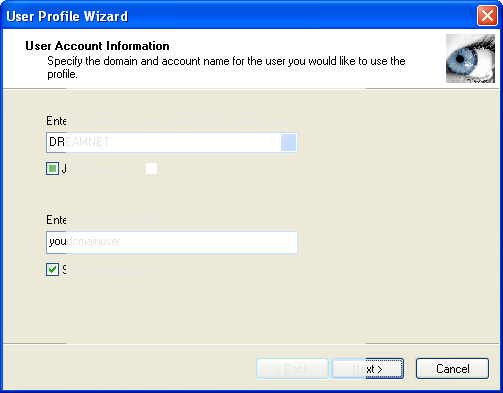
- If everything has gone correctly, you should see something like this. You can now click Next, then Finish.
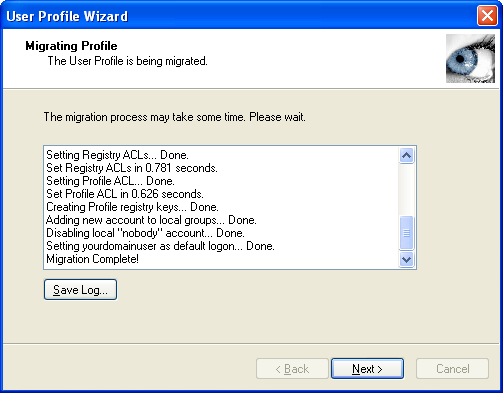
- Restart the computer to finalize the process
- Download and run ProfWiz
- You should now be able to log into your new domain account!
- The final step you should complete, is to change your domain password. You can do this after logging in, by pressing Ctrl + Alt + Del and clicking Change Password
Next steps
Section titled “Next steps”You’re done! Check out these other guides to learn how to set up other software.