Office Configuration
This tutorial will guide you through installing Microsoft Office and configuring it for DreamNet use.
Installing Office
Section titled “Installing Office”- Browse to
S:\Software\Microsoft\Office 2003and runOffice 2003 Setup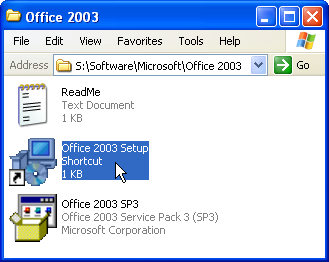
- Enter the Product Key from the ReadMe document
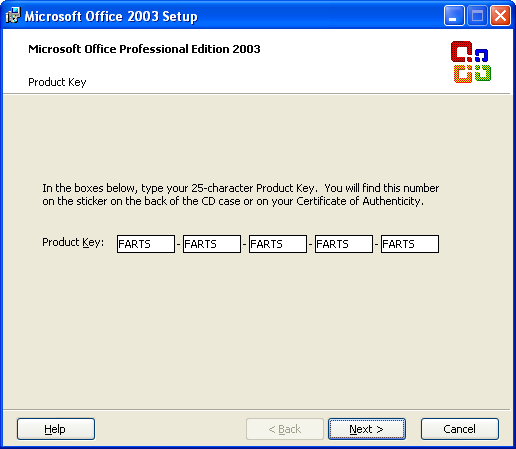
- Enter your user information and press Next
- Agree to the EULA and click Next
- Choose Complete install, then click Next
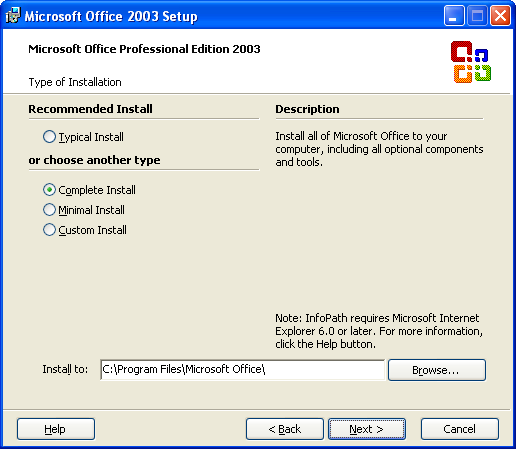
- Review the installation summary and then click Install
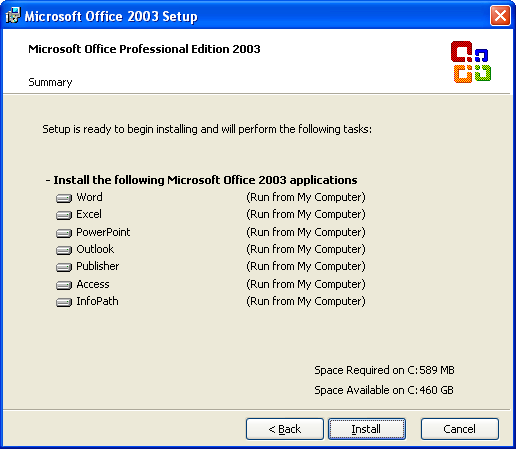
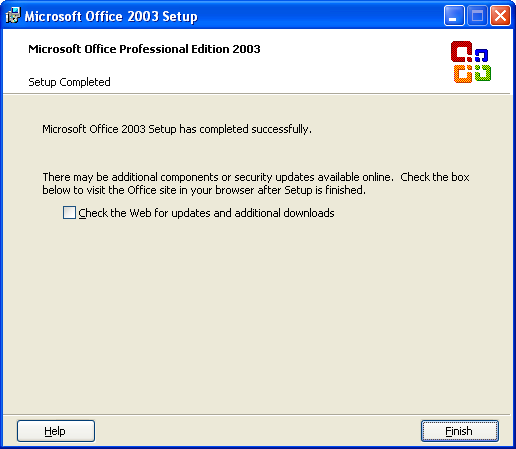
- Once the installation is complete, click Finish
- Browse to
C:\Software\Micosoft\Office 2003and runOffice 2003 SP3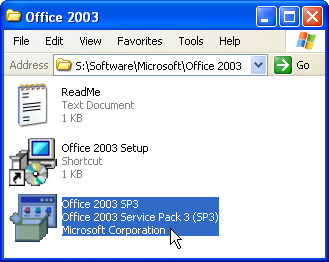
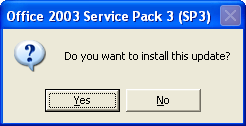
- When prompted, click Yes to install the update, then Yes again to accept the EULA
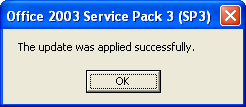
- You should get confirmation when the update has been installed successfully.
Configuring Outlook
Section titled “Configuring Outlook”For Microsoft Outlook, the required settings are as follows:
- Server Name:
starlink.dreamnet.corp - Protocol: Exchange ActiveSync (recommended), IMAP, SMTP
- Email Address:
yourdomainuser@dreamnet.corp - Username:
yourdomainuser
- When you open Outlook for the first time, you should see the Outlook 2003 Setup wizard. Click Next.
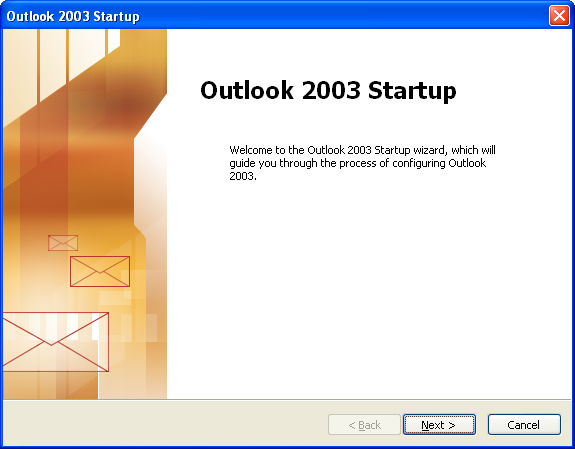
I don’t see the Outlook 2003 Startup wizard!
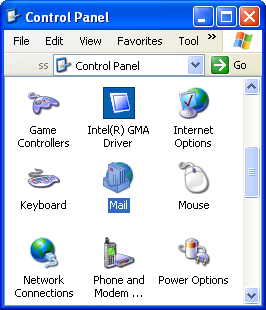
The easiest way to fix this, is to delete your old Outlook profile. Below are instructions on how to do this.- Open Control Panel and select Mail.
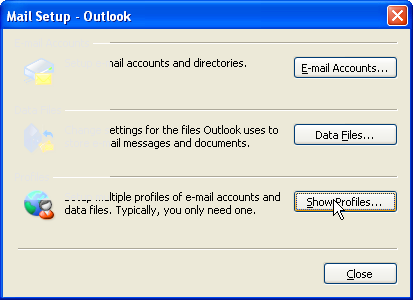
- In the new Window, select Show Profiles.
- You should now see the list of Outlook profiles on your computer. Select the existing profile and click Remove. Click Yes when asked to confirm the removal.
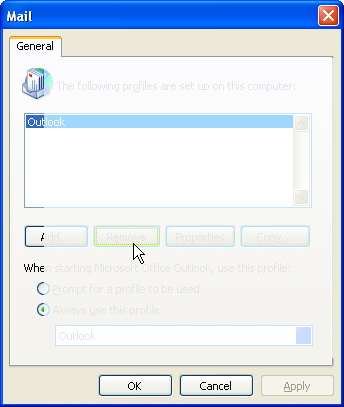
- Now, click the Add button and give your profile a name and click OK. The default name is Outlook.
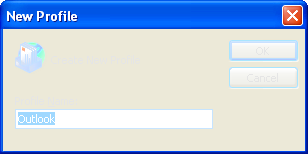
- When you get a popup asking about using the profile for Email or as a Directory, click Close.
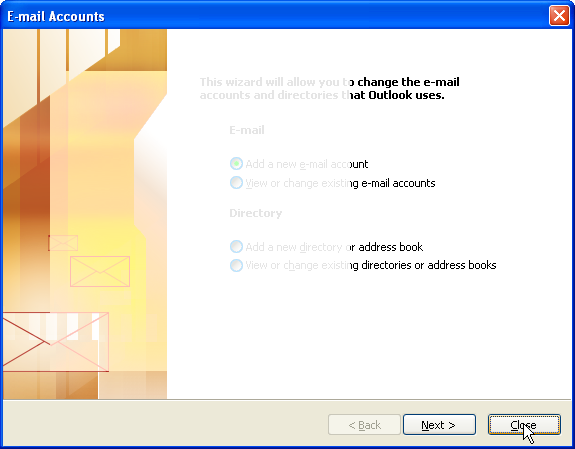
- Confirm the profile creation by clicking OK on the dialog box.

- You can now click OK on the Mail Control Panel window, then re-open Outlook to continue with the guide.
- Open Control Panel and select Mail.
- When asked if you want to configure an E-mail account, pick Yes, then click Next.
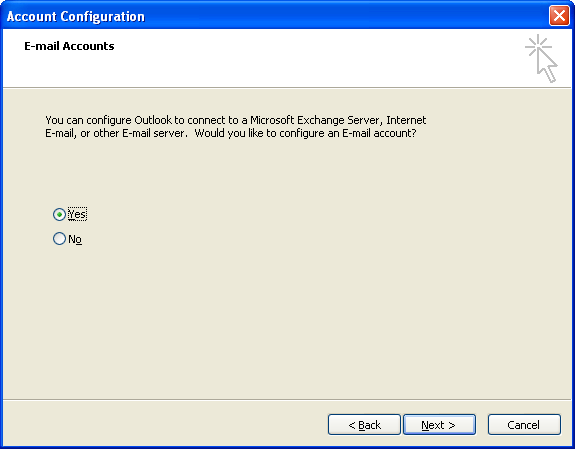
- For the server type, choose Microsoft Exchange Server, then click Next.
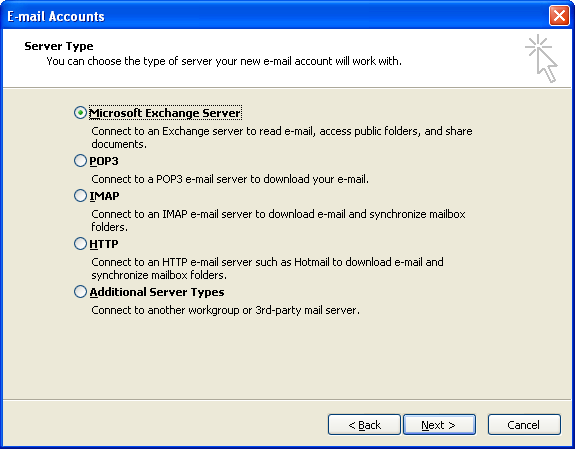
- Now you need to enter the Exchange Server and your Username.
The Microsoft Exchange Server is
starlink.dreamnet.corpand your username will be your domain username. After entering your username, you can click Check Name and your account name should populate in the box. You can then click Next.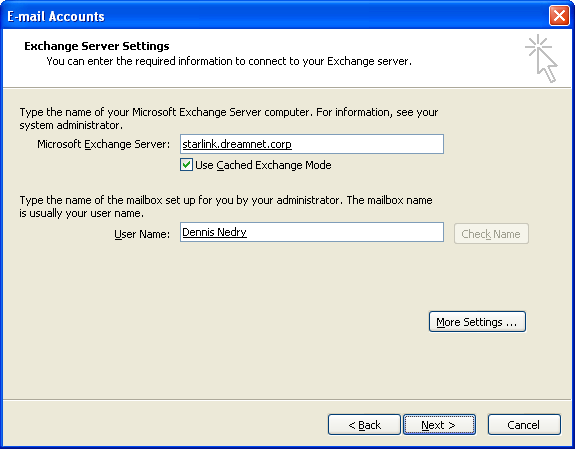
- If everything has gone correctly, you should be able click Finish and see your email populate in Outlook. If something has gone wrong, please contact support.